


Certain types of product images require special types of image techniques to product just the right look. Below are listed the most common of these techniques used to overcome common product photography hurdles.
Creative Compositing
It’s not always possible to capture the image we want in a single photograph. We may need more products than we have availabe. We may have varying lighting needs for each object being photographed. We may wish to include features that cannot be photographed.
This is where we use composite imaging. Photographs are taken of each object separately allowing us to cater to each item’s particular requirements. Then in Photoshop we can integrate the separate images into a final composite image.
Useful Notes:
- Useful for demonstrating a product’s usage.
- Sometimes works as a way to place products into an environment while still shooting in studio.
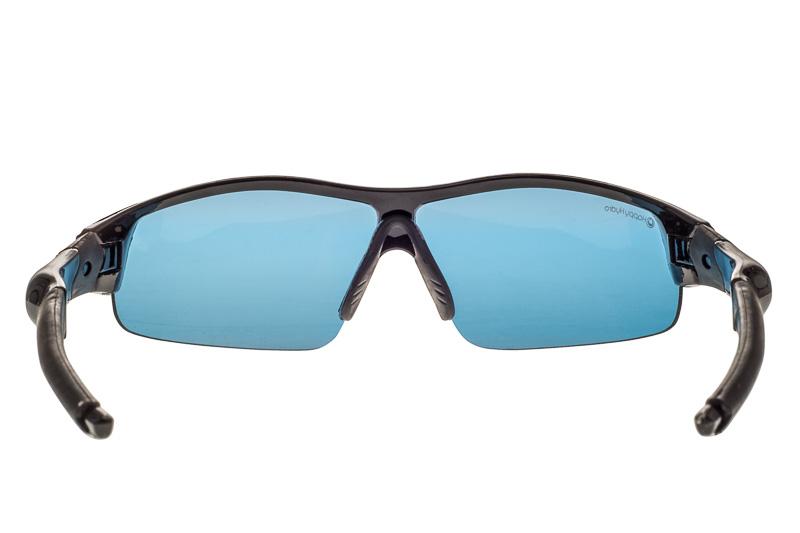
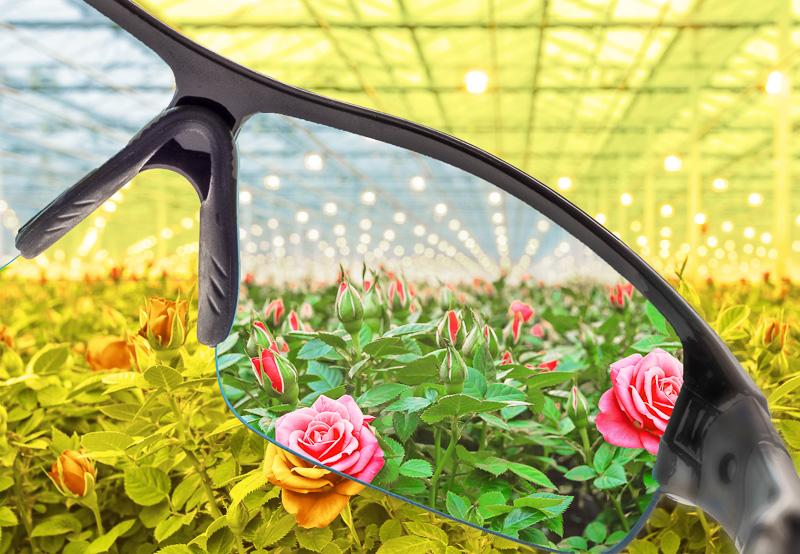
Move the image divider back / forth to see “before and after” images..
Selective Exposure Composite
High end commercial products (as in magazines) are often created through a combination of many different photographs. In order to produce a finished photo of superior quality, the varying elements often benefit from being lit and photographed differently. The separate photographs are then combined in Photoshop to create a finished image that is of a much higher quality than would be possible using a single exposure.
An example of this process would be the watch you see to the right. Each part of the watch looks better with different exposures and varying the location and type of lights being used. The finished product uses the face from the images 1, the details from image 2 and the specular highlights of image 3.
Useful Notes:
- Not usually needed for studio work, but is very useful with “on location” shots where lighting may not be controlled.
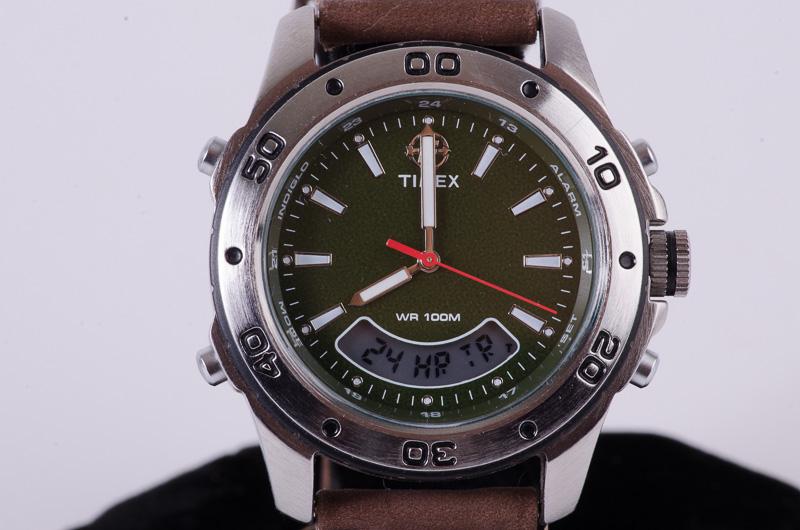
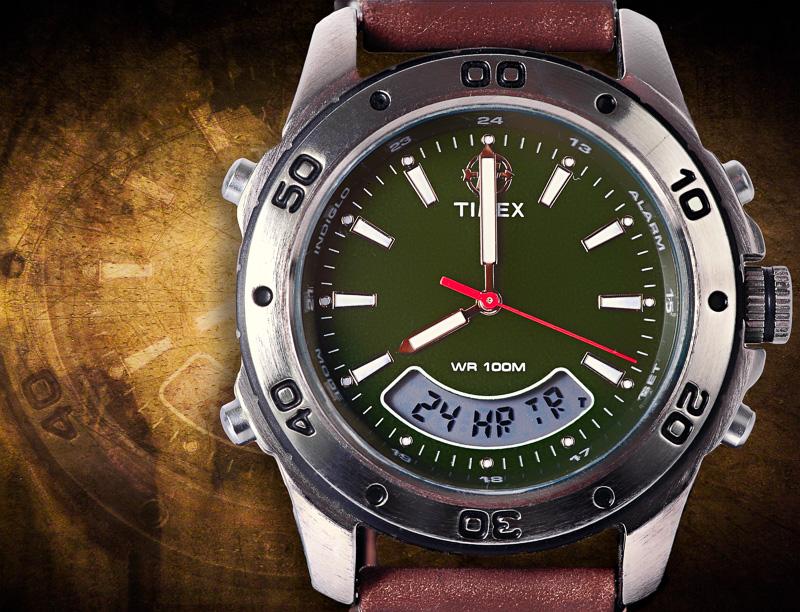
Move the image divider back / forth to see “before and after” images..
Focus Stacking
Focus stacking is a technique whereby multiple images (usually dozens) can be blended in post production to increase clarity and depth of field in macro photography. The benefit of using this technique is focusing results that are simply not physically possible with a single image. This process is generally not required for “normal” images; however, it is required to get large depth of field when photographing small products very close.
So how does this help you? If you want a very close image of your product without any depth of field blur; front to back perfect clarity. This is how it can be done.
Useful Notes:
- The example to the right is a 3D piece of artwork that fits inside of a pocket watch. Due to its small size standard images (even using small apertures) will not produce the desired depth of field nor clarity that the clients would want.
- As you move the slider back and forth on the sample image, take notice of the difference in depth of field. The first image is only sharp on the dragon head and front fish whereas the focus stacked image is crystal sharp from front to back.
- Total of 16 “slice / images” were used to obtain this depth of field.
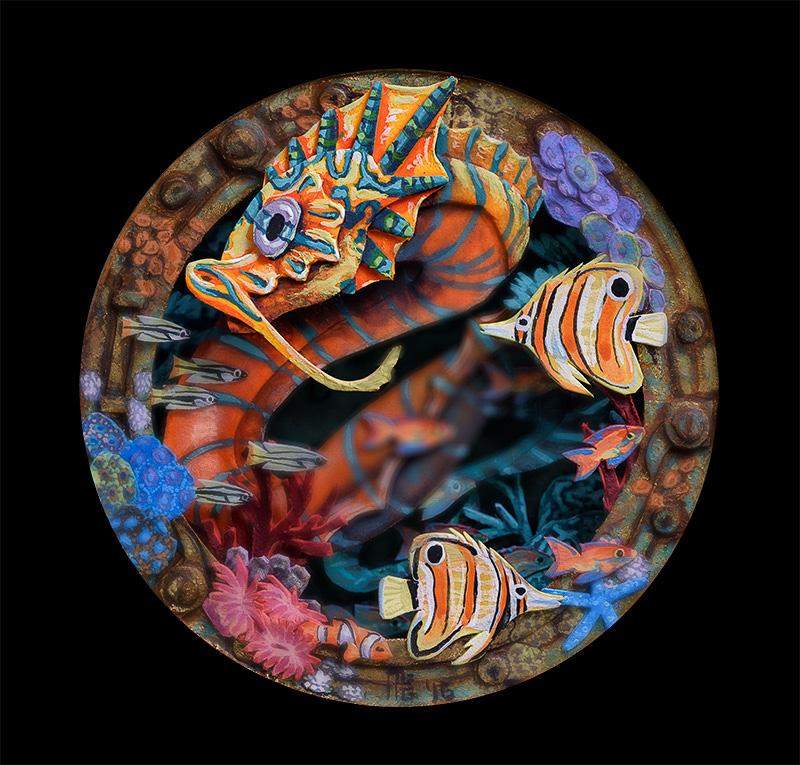
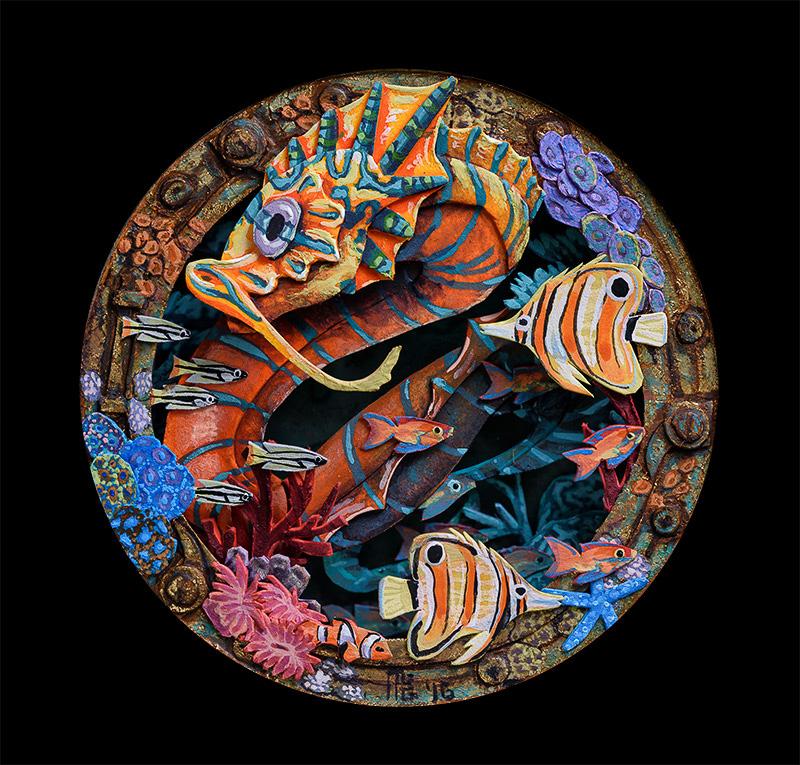
Move the image divider back / forth to see “before and after” images..
